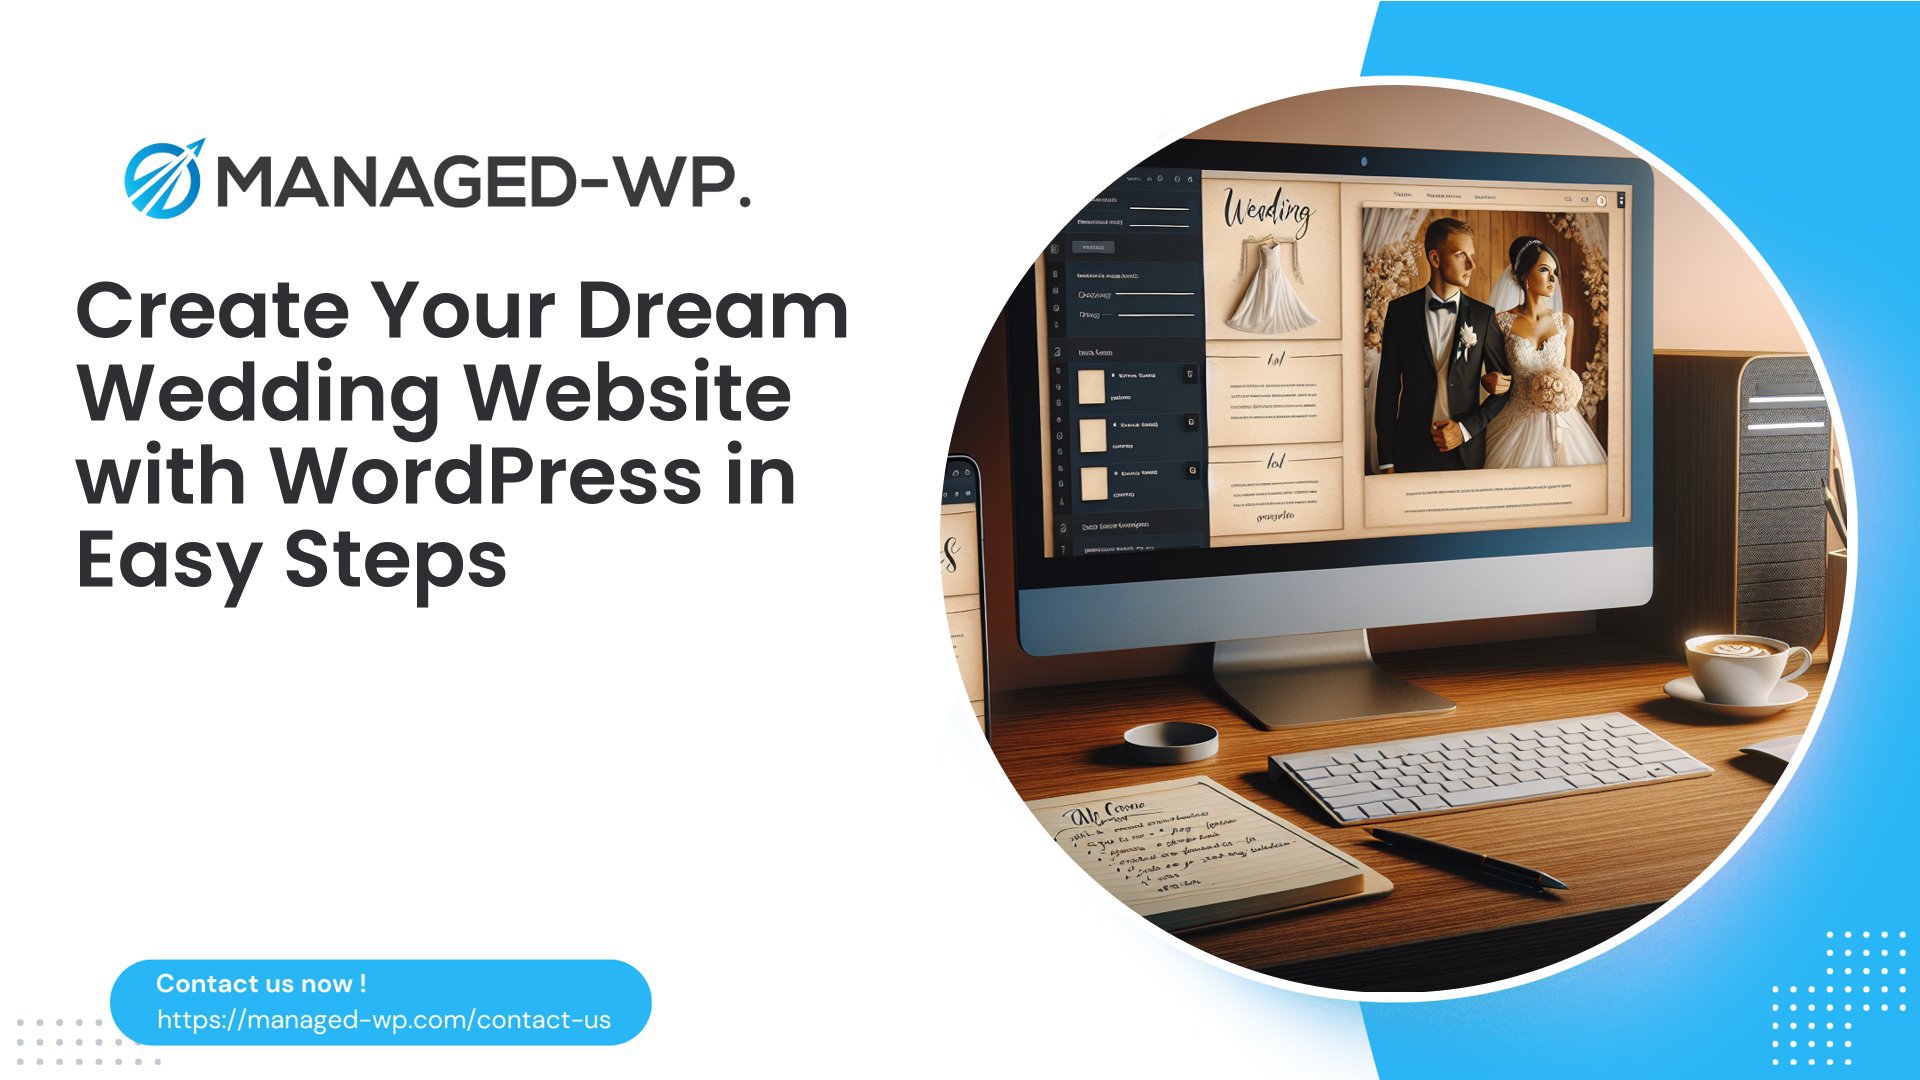

Creating a WEDDING Website with WORDPRESS
Creating a wedding website using WORDPRESS is an EXCELLENT way to share your SPECIAL day with FAMILY and FRIENDS. With the right TOOLS and GUIDANCE, you can build a BEAUTIFUL, FUNCTIONAL site that captures the ESSENCE of your CELEBRATION. This step-by-step guide ensures that even those WITHOUT technical expertise can create a STUNNING wedding website.
Step 1: Choose Your DOMAIN Name and HOSTING
DOMAIN Name Selection
The first step in building your wedding website is selecting a DOMAIN NAME. This will be the WEB ADDRESS where guests can find all information related to your WEDDING. A good practice is to combine both partners' names or use phrases like GETTINGMARRIED or WEDDING. For example: • JOHNDOEANDJANESMITH.COM • SMITHWEDDING2025.COM To check if your desired DOMAIN NAME is available, use services like Namecheap or Instant Domain Search.
Web HOSTING Services
Once you've secured a DOMAIN NAME, you'll need RELIABLE WEB HOSTING to store your website's files and make it ACCESSIBLE online. Many HOSTING providers offer packages TAILORED for WORDPRESS users. Look for FEATURES such as: • ONE-CLICK WORDPRESS INSTALLATION • SSL CERTIFICATES for SECURITY • CUSTOMER SUPPORT Providers like BLUEHOST or SITEGROUND are popular choices among WORDPRESS users due to their ease of use and helpful CUSTOMER SERVICE.
Step 2: Install WORDPRESS
After securing both your DOMAIN NAME and HOSTING plan, it's time to INSTALL WORDPRESS on your SERVER. Most REPUTABLE HOSTING services offer an EASY ONE-CLICK INSTALLATION option directly from the CONTROL PANEL. Follow these steps: 1. LOG INTO your hosting account. 2. Navigate to the CONTROL PANEL. 3. Locate the “Install WORDPRESS” option. 4. Select the DOMAIN where you want it installed. 5. Fill in necessary details such as SITE TITLE and ADMIN USERNAME/PASSWORD. 6. Click “INSTALL.” Congrats! You now have a FUNCTIONING WORDPRESS site ready for CUSTOMIZATION.
Step 3: Choose Your WEDDING Theme
Selecting an APPROPRIATE THEME sets the tone for how visitors perceive your SITE, so choose one that reflects both personalities.
Popular WEDDING Themes
Below are some RECOMMENDED THEMES suitable for wedding websites: Theme Name: • ONELOVE – Features: Multiple demos, RSVP forms – Price: $59 • WEDDING DAY – Features: Guestbook feature – Price: $79 • LAVELO – Features: Countdown timer – Price: $37 You can find these themes on platforms like THEMEFOREST or directly within the WORDPRESS theme repository by searching for WEDDING.
Installing Your Chosen THEME
To install a THEME: 1. Go to Appearance > Themes in your DASHBOARD. 2. Click Add New. 3. Search for your chosen THEME. 4. Click Install, then Activate.
Step 4: Customize Your WEBSITE Content
Now that you have set up the VISUAL APPEARANCE through your THEME, add CONTENT that will provide guests with all the details for your special day.
Essential Pages
Consider creating these KEY PAGES: • HOME PAGE – Overview of what visitors can expect (DATE, TIME, LOCATION). • OUR STORY – Share how you met and fell in love; this adds a PERSONAL touch that ENGAGES visitors. • EVENT DETAILS – Include specific information about ceremony and reception venues, along with maps if possible. • RSVP PAGE – Use PLUGINS such as WPForms or Contact Form 7 so guests can easily confirm ATTENDANCE.
Adding MEDIA
Incorporate IMAGES from pre-wedding events (like engagement PHOTOS) along with other VISUALS that represent you as a couple. This adds PERSONALITY to your website.
Step 5: Enhance Functionality with PLUGINS
PLUGINS enhance your site's FEATURES without requiring you to write code. They offer EXTENDED functionality beyond what standard THEME OPTIONS provide.
Recommended PLUGINS
Here are some useful PLUGINS tailored for WEDDING websites: 1) WPForms – Easily create custom RSVP forms. 2) Envira Gallery – Showcase photo galleries beautifully after events. 3) The Events Calendar – Keep track of important dates leading up to the WEDDING. To install PLUGINS: 1. Navigate to Plugins > Add New in your DASHBOARD. 2. Search for the plugin by NAME and click Install/Activate once found.
Step 6: Optimize for MOBILE Devices
Given that many users ACCESS websites via SMARTPHONES and TABLETS, ensure that your design is MOBILE RESPONSIVE. Most modern THEMES automatically ADAPT to various screen sizes, but it's a smart step to DOUBLE-CHECK with tools like GOOGLE'S MOBILE-FRIENDLY TEST to ensure flawless performance across devices.
CONCLUSION
Building your WEDDING website may take time, but every step is part of creating something MEANINGFUL and UNIQUE. When finished, share the link with family and friends so everyone stays UPDATED as your SPECIAL day approaches.
Get Expert Support for Your WORDPRESS Site
Do you need MANAGED WORDPRESS service coverage? At Managed-WP we understand how crucial it is not only to have STUNNING designs but also to IMPLEMENT top-level SECURITY measures. Our PRO plan offers a COMPREHENSIVE solution, including automated BACKUPS, regular UPDATES, and EXPERT SUPPORT designed to ease your wedding planning journey. Sign up today at https://managed-wp.com/pricing Stay connected and let us help MAKE YOUR DREAMS A REALITY!