There was a time when the question ‘how to design a website?’ would have been answered by doing hours after hours of web design classes to code up your site. Alternatively, if you have the budget, you would have hired some young college kid trying to eke out a living out of the many freelancing websites online.
These days, thanks to web builders, designing a website is as easy as ABC; picking an icon over here and dropping it over there. Web builders have done away with the need to have hard-core coding skills. Anyone with some common sense and access to a computer can come with a gorgeous-looking, mobile-ready, and responsive website. It can even be done in under half an hour.
Web Design with UX at the Center
We have since established that a website nowadays does not need technical skills to design. So really, your only limitation is your imagination. However, you want to be very careful with that imagination; the website you are building should be designed for your target audience. Not you!
Here is where most people go wrong when they are building a website. They go all out on showcasing their technical skills, put in a lot of bells and whistles. That route often does not lead to what we call a good User Experience (UX). Your target audience ought to get what they want from your website as quickly and efficiently as possible.
This article is going to explore the basic steps towards designing a website with a good UX. they are as follows:
1. Planning
The adage, ‘failure to plan, is planning to fail,’ could not be any more relevant. As with any project, the first step in answering how to design a website starts by planning. This phase gives you clear foresight and minimizes oversights. Some of the questions you should ask yourself at this stage include:
- Is the website for personal or commercial purposes?
- How much traffic do you expect to get?
- Do you want to monetize the website? If yes, then how?
- Will you carry out affiliate marketing, show advertising, or perhaps both?
There will be many ideas popping up as you brainstorm during the planning phase, especially with your colleagues. It is always wise to write them down and, later on, separate the wheat from the chaff as you pick the very best of the suggested ideas.
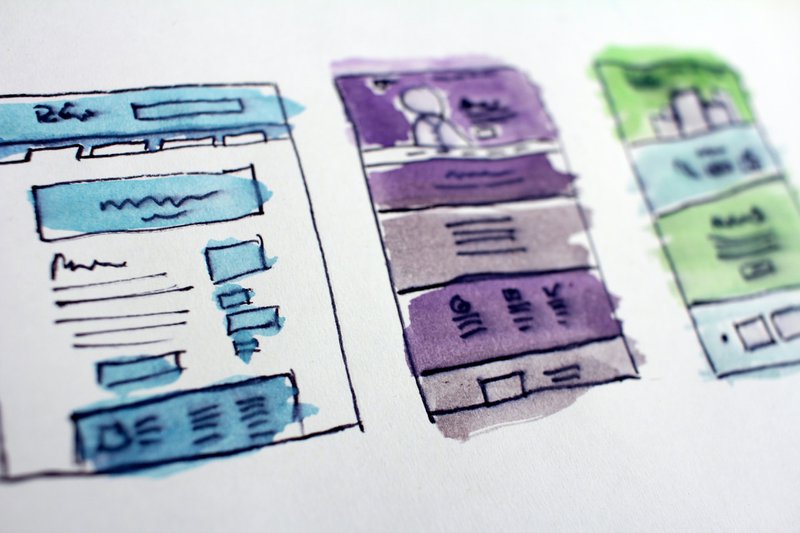
While brainstorming, don’t limit yourself to the conventional ways of doing things. It is okay to think big and think outside the box. Experiment with new ways of doing things. At the end of it, you should have a blueprint that has exhausted out all the possibilities. After the planning stage, you should have a clear plan for the site’s user interface, navigations, and side panels, among other website elements.
2. Choose the Right Theme
With the website’s blueprint now in place, you now need to choose the site's suitable visual layout. That includes the colour scheme, fonts, and typography. The chosen fonts should scale up and down well when viewed from different screen sizes. Also, check out how the fonts work with various languages. As far as the colours go, ensure it captures the right emotions. For instance, green is associated with the environment and health, while red denotes aggression and impulsiveness. Be sure the site reflects the theme of your brand.
3. Good Website Layout and Easy Navigation
It would be best to establish the site navigation, side panels, and the general UI from the planning stage. Although the homepage is quite critical, don’t make the mistake of thinking that every visitor will land there. To a great extent, you don’t control how people find your site. They could have been roped in through a blog post on social media or keyword search on Google. The odds are high they might not land on your homepage first.
A key criterion to look at when thinking about how to design a website is the site navigations. To get this part right, put yourself in the shoes of a visitor, and interconnect web pages in order of relevance to them. If you wish the visitors to take specific desired actions, be sure your Call-To-Action (CTA) is quite prominent and direct.
4. Go Big on the Minor Details
You want to make your website pop and attractive to your visitor. One way of achieving that is by majoring in minor things like menus, buttons, and image placements. Tiny things like adding microinteractions elements to your site can bump up visitors’ interactions. Don’t overlook small things like poor font rendering and poor colour contrast. To catch these tiny things that could go wrong, you need to pay close attention to details.
5. Test-Run before Actual Launch
Once you feel you have worked on your website to the best of your potential. It would be best to prototype it for a small group of users before making it available publicly. It could be in the form of a picture, video, or static HTML files. Once they are done looking at it, collect their feedback and tweak the areas they suggested need improvement. Be sure to prototyping earlier on your website launch deadline to avoid last-minute fixings.
On that front, site builders make it easy and fast to build a website that you will have plenty of time for prototyping. Thanks to site builders, you can quickly develop a concept website, demo it, erase it, and then start all over again quickly. This process would have been cumbersome if you were coding the site using the old way.
How to Design a Website using WP Builder
WordPress (WP) is a popular CMS that powers the bulk of websites on the internet today. You can join the WP bandwagon now and have your website up and running without even writing a single line of code, especially if you are using robust site builders like the WP Website Builder, which comes in both free and premium versions.
However, if you sign up for our managed WordPress plans, you will get WP Website Builder premium as an add-on service. To get started with this tool, sign up using an email address, and your WP login credentials will be emailed to you. The common starting point for many is the WP Website Builder setup wizard.
WP Website Builder setup wizard
The WP Website Builder wizard walks you through setting up your desired web design. All you need to do is to pick your desired WordPress theme (web layout). There are dozens of these themes suitable for virtually all your needs, from a simple static website to a heavy news site for blogging.
Each theme comes with varying numbers of web pages. However, you get the option to add, delete, and edit these web pages. You also get the chance to add your social media information, link to your social media profiles, and even embed social media posts to your site. Not to mention, you can also enter your basic contact details.
Once you are ready to launch your site, all you have to do is click on Finish and Install. When the site is live, you now get access to the dashboard, giving you more options for managing the web pages and their content.
Wrapping up
We understand that not everyone has the time or patience for this DIY web design. Even then, one is not likely to give it the professional touch as someone who dedicates their entire day to learning matters ‘How to Design a Website.’ You can sit back and outsource the task to our professional web designers, who are familiar with web builders and can augment them further using the good-old coding skills.