Managed-WP.™

How to Install SSL on WordPress: A Step-by-Step Guide

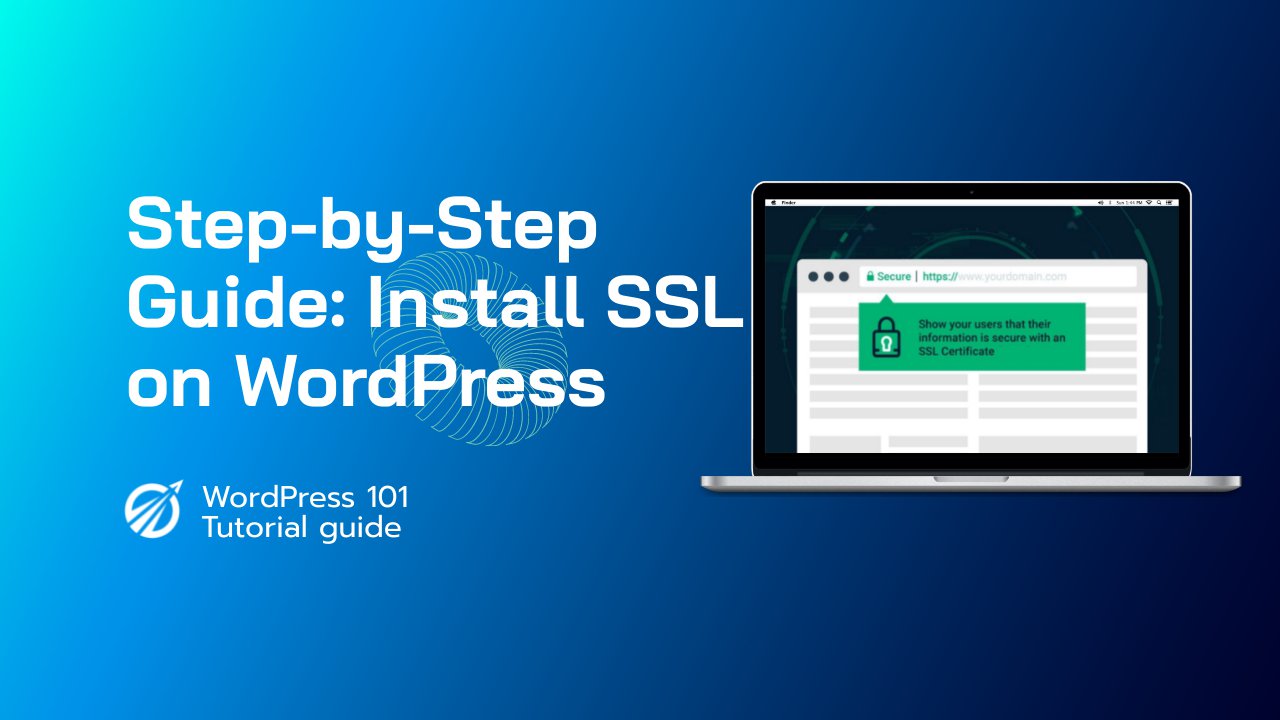
How to Install SSL on WordPress: A Step-by-Step Guide cover

With the increasing importance of online security, it's essential to ensure that your WordPress site is using SSL. SSL (Secure Sockets Layer) is a standard security technology that establishes an encrypted link between a web server and a browser, ensuring that all data passed between them remains private and secure. In addition to providing improved security for your site visitors, SSL can also boost your search engine rankings and improve user trust. In this step-by-step guide, we'll walk you through the process of obtaining and installing a free SSL certificate on your WordPress site using Let's Encrypt. We'll also cover how to update your site's URLs to use HTTPS and troubleshoot common SSL issues, so you can rest easy knowing that your WordPress site is secure.

1. What is SSL and why is it essential for WordPress sites?

SSL (Secure Sockets Layer) is a standard security technology that establishes an encrypted link between a web server and a browser. This link ensures that all data passed between the server and browser remains private and secure. SSL certificates are issued by trusted third-party organizations, known as Certificate Authorities (CAs), and are used to secure online transactions and protect sensitive information, such as login credentials and credit card numbers.

In the context of WordPress sites, SSL is important for several reasons. First and foremost, SSL helps to protect your site visitors' privacy and security. Without SSL, any data transmitted between your site and a visitor's browser is sent in plain text, making it vulnerable to interception and theft by malicious actors. By using SSL, you can ensure that all data transmitted between your site and your visitors is encrypted and secure.

In addition to improving security, SSL can also boost your WordPress site's search engine rankings. Google has stated that it uses HTTPS as a ranking signal, so sites that use SSL are more likely to appear higher in search results than those that don't.

Finally, SSL can also help to build trust with your site visitors. When visitors see the padlock icon and "https" in their browser's address bar, they know that their connection to your site is secure and that their data is being protected. This can help to improve user trust and confidence in your site, leading to increased engagement and conversions.

2. How to check if your WordPress site has an SSL certificate

Checking whether your WordPress site has an SSL certificate is a relatively simple process. Here are a few methods you can use to check:

  1. Check the address bar: If your site has an SSL certificate, you should see a padlock icon and "https" in the address bar of your browser. If you don't see these indicators, then your site likely does not have an SSL certificate.
  2. Use an SSL checker tool: There are several online tools you can use to check whether your site has an SSL certificate. One popular option is SSL Checker by SSL Shopper (https://www.sslshopper.com/ssl-checker.html). Simply enter your site's URL and click "Check SSL." The tool will then scan your site and report back whether it has a valid SSL certificate.
  3. Check the WordPress dashboard: If you're using a WordPress plugin to manage your SSL certificate, you may be able to check its status from within the WordPress dashboard. For example, if you're using the Really Simple SSL plugin, you can navigate to the "Plugins" section of the dashboard and look for the "Really Simple SSL" plugin. If the plugin is active, then your site has an SSL certificate.

If you've determined that your site does not have an SSL certificate, don't worry. The next section of this guide will walk you through the process of obtaining a free SSL certificate from Let's Encrypt.

3. Obtaining a free SSL certificate from Let's Encrypt

Let's Encrypt is a nonprofit Certificate Authority (CA) that offers free SSL certificates to website owners. Let's Encrypt certificates are trusted by all major browsers and can be a great option for small businesses and individuals who want to secure their sites without incurring additional costs.

To obtain a free SSL certificate from Let's Encrypt for your WordPress site, follow these steps:

  1. Log in to your WordPress hosting account and navigate to the cPanel or other control panel.
  2. Look for the "Let's Encrypt" icon or option. This may be located under the "Security" or "SSL/TLS" section.
  3. Follow the prompts to generate a new SSL certificate for your domain. This typically involves selecting your domain name from a dropdown menu and clicking a button to generate the certificate.
  4. Once the certificate is generated, you may need to download it or copy the certificate's contents to use in configuring your WordPress site.
  5. Depending on your hosting arrangement, you may need to manually install the certificate on your server or use a plugin to configure your site to use SSL.

Note that the exact steps for obtaining and configuring a Let's Encrypt SSL certificate may vary depending on your hosting provider and the tools available to you. However, most hosting providers offer some form of support or documentation for Let's Encrypt SSL certificates, so don't hesitate to reach out to your provider's support team if you need assistance.

What if you do not have cPanel, how to install SSL by using WordPress plugin directly?

If you don't have access to cPanel or a control panel, you can still obtain and install an SSL certificate on your WordPress site by using a plugin. Here's how:

  1. Log in to your WordPress dashboard and navigate to the "Plugins" section.
  2. Click "Add New" and search for an SSL plugin. One popular option is Really Simple SSL.
  3. Install and activate the SSL plugin.
  4. Once the plugin is activated, it should automatically detect whether your site has an SSL certificate or not. If your site doesn't have an SSL certificate, the plugin will prompt you to obtain one.
  5. Follow the prompts to obtain a free SSL certificate from Let's Encrypt. The exact steps may vary depending on the SSL plugin you're using, but most will guide you through the process of creating and installing a Let's Encrypt SSL certificate.
  6. Once your SSL certificate is installed, the plugin will automatically configure your site to use SSL. You may need to update your site's URLs to use HTTPS, which can be done using the plugin's settings.

Note that while SSL plugins can be a convenient and easy way to install SSL on your WordPress site, they may not offer the same level of control and customization as configuring SSL directly through cPanel or a control panel. Additionally, some hosting providers may have restrictions on using SSL plugins, so be sure to check with your provider before installing an SSL plugin on your site.

4. Configuring the SSL certificate on your WordPress site

Once you've obtained an SSL certificate from Let's Encrypt or another Certificate Authority, you'll need to configure it on your WordPress site to ensure that your site is served over HTTPS. Here's how to do it:

  1. Log in to your WordPress dashboard and navigate to the "Settings" section.
  2. Click "General" and update both the "WordPress Address (URL)" and "Site Address (URL)" fields to use HTTPS instead of HTTP. For example, if your site's URL is currently "http://example.com", update the fields to "https://example.com".
  3. Save your changes and log out of your WordPress dashboard.
  4. Log back in to your WordPress dashboard using the HTTPS version of your site's URL (e.g. https://example.com/wp-admin).
  5. If your site uses any hardcoded HTTP links (e.g. in image URLs or internal links), you'll need to update them to use HTTPS as well. One way to do this is to use a plugin like Better Search Replace to search for instances of "http://" in your site's database and replace them with "https://".
  6. Finally, test your site to ensure that it's being served over HTTPS. You can do this by visiting your site and looking for the padlock icon and "https" in your browser's address bar. You can also use an online SSL checker tool to verify that your SSL certificate is valid and properly configured.

Note that the exact steps for configuring your SSL certificate on your WordPress site may vary depending on your hosting provider and the tools you're using. If you run into any issues or are unsure about how to proceed, don't hesitate to reach out to your hosting provider's support team or consult the documentation for your SSL plugin or control panel.

5. Updating your WordPress site's URLs to use HTTPS

Once you've installed and configured an SSL certificate on your WordPress site, you'll need to update your site's URLs to use HTTPS instead of HTTP. Here's how to do it:

  1. Log in to your WordPress dashboard and navigate to the "Settings" section.
  2. Click "General" and update both the "WordPress Address (URL)" and "Site Address (URL)" fields to use HTTPS instead of HTTP. For example, if your site's URL is currently "http://example.com", update the fields to "https://example.com".
  3. Save your changes and log out of your WordPress dashboard.
  4. Log back in to your WordPress dashboard using the HTTPS version of your site's URL (e.g. https://example.com/wp-admin).
  5. If your site uses any hardcoded HTTP links (e.g. in image URLs or internal links), you'll need to update them to use HTTPS as well. One way to do this is to use a plugin like Better Search Replace to search for instances of "http://" in your site's database and replace them with "https://".
  6. Finally, test your site to ensure that it's being served over HTTPS. You can do this by visiting your site and looking for the padlock icon and "https" in your browser's address bar. You can also use an online SSL checker tool to verify that your SSL certificate is valid and properly configured.

Note that updating your site's URLs to use HTTPS can have implications for your site's SEO, as search engines may treat HTTPS and HTTP versions of your site as separate entities. To avoid any negative impact on your site's rankings, be sure to redirect all HTTP traffic to HTTPS using a 301 redirect. This can be done using a plugin like Really Simple SSL or by adding redirects to your site's .htaccess file.

6. How to force HTTPS on your WordPress site

Once you've installed and configured an SSL certificate on your WordPress site, you'll want to ensure that all traffic to your site is served over HTTPS. This can be done by forcing HTTPS on your site, which will redirect all HTTP traffic to HTTPS. Here's how to do it:

  1. Log in to your WordPress dashboard and navigate to the "Plugins" section.
  2. Click "Add New" and search for an SSL plugin. One popular option is Really Simple SSL.
  3. Install and activate the SSL plugin.
  4. Once the plugin is activated, it should automatically detect whether your site has an SSL certificate or not. If your site doesn't have an SSL certificate, the plugin will prompt you to obtain one.
  5. Once your SSL certificate is installed, the plugin will automatically configure your site to use SSL. To force HTTPS on your site, click the "Settings" button in the SSL plugin's description, then click the "SSL" tab.
  6. In the "SSL" tab, check the box next to "Enable SSL for all pages" to force HTTPS on your site. You can also check the box next to "Enable 301 .htaccess redirect" to automatically redirect all HTTP traffic to HTTPS.
  7. Click "Save" to update your settings.
  8. Finally, test your site to ensure that all traffic is being served over HTTPS. You can do this by visiting your site and looking for the padlock icon and "https" in your browser's address bar.

Note that some hosting providers may have restrictions on using SSL plugins, so be sure to check with your provider before installing an SSL plugin on your site. Additionally, be aware that forcing HTTPS on your site can have implications for your site's SEO, as search engines may treat HTTPS and HTTP versions of your site as separate entities. To avoid any negative impact on your site's rankings, be sure to redirect all HTTP traffic to HTTPS using a 301 redirect.

7. Troubleshooting common SSL issues on WordPress sites

While installing and configuring an SSL certificate on your WordPress site can be a relatively straightforward process, you may encounter some common issues along the way. Here are a few tips for troubleshooting SSL issues on your WordPress site:

  • Mixed content errors: If your site is still serving some resources over HTTP instead of HTTPS, you may see mixed content errors in your browser's console. This can cause issues with the padlock icon and may result in some resources not being loaded properly. To fix this, use a plugin like Really Simple SSL or Better Search Replace to search for instances of "http://" in your site's database and replace them with "https://".
  • Redirect issues: If your site isn't properly redirecting HTTP traffic to HTTPS, you may need to update your site's .htaccess file. To do this, add the following code to your .htaccess file:

```

RewriteEngine On
RewriteCond %{HTTPS} off
RewriteRule ^(.*)$ https://%{HTTP_HOST}%{REQUEST_URI} [L,R=301]

```

  • Certificate errors: If your SSL certificate isn't properly configured or isn't valid, you may see certificate errors in your browser. To troubleshoot this, use an online SSL checker tool to verify that your SSL certificate is valid and properly configured. If you need to obtain a new SSL certificate, follow the steps outlined in the "Obtaining a free SSL certificate from Let's Encrypt" section of this guide.
  • Mixed domain errors: If your site is serving resources from different domains, you may see mixed domain errors in your browser's console. To fix this, ensure that all resources are being served from the same domain and that any external resources are being served over HTTPS.
  • Plugin conflicts: If you're using an SSL plugin to configure SSL on your site, be aware that it may conflict with other plugins that modify your site's URLs or redirect traffic. If you're experiencing issues with an SSL plugin, try disabling other plugins one by one to identify any conflicts.

If you're still experiencing issues with SSL on your WordPress site, don't hesitate to reach out to your hosting provider's support team or consult the documentation for your SSL plugin or control panel.

8. Conclusion and next steps for securing your WordPress site with SSL

Securing your WordPress site with SSL is an important step in protecting your site and your users' data. By encrypting traffic between your site and your visitors, SSL can help prevent unauthorized access to sensitive information and improve your site's credibility.

To secure your WordPress site with SSL, follow these steps:

  1. Obtain a free SSL certificate from Let's Encrypt or another Certificate Authority.
  2. Install and configure your SSL certificate on your site using cPanel or a control panel, or using an SSL plugin like Really Simple SSL.
  3. Update your site's URLs to use HTTPS instead of HTTP.
  4. Force HTTPS on your site to ensure that all traffic is being served over HTTPS.
  5. Troubleshoot any common SSL issues that you may encounter along the way.

Once you've secured your WordPress site with SSL, it's important to keep your SSL certificate up to date and to monitor your site for any security issues. Consider using a security plugin like Wordfence or Sucuri to help protect your site from malware, hacking attempts, and other security threats.

By taking these steps to secure your WordPress site with SSL, you can help protect your site and your users' data, improve your site's SEO and credibility, and provide a safer browsing experience for your visitors.


熱門貼文